
Organization can be overwhelming, but it becomes easier once you have a method! Luckily, I have learned from experience and developed an easy process for getting every place organized! By breaking everything into steps, it allows you to tackle each area at your own pace. If you don’t finish cleaning in one day, you could at least know what step you left off on.
I used to be terrible at organization, but this process makes it so much more manageable!
6 Basic Organization Steps

Expose All Items
Make sure you have a lot of space. If it is a big project, I would allocate an area that you won’t be needing for the next few days. Get everything off of the shelves, out of the bins, and onto the floor. We are going to sort each and every item. You’ll be surprised how much junk you have in your bins! Put all of your storage containers off to the side for now.

Separate Into Categories
This step comes together as you do it. Start putting similar items together in a pile. Don’t over think this step! Just intuitively start making your piles. It will make finding your items so much easier when you go back to look for them. You can always combine categories later, or break them up further if needed.
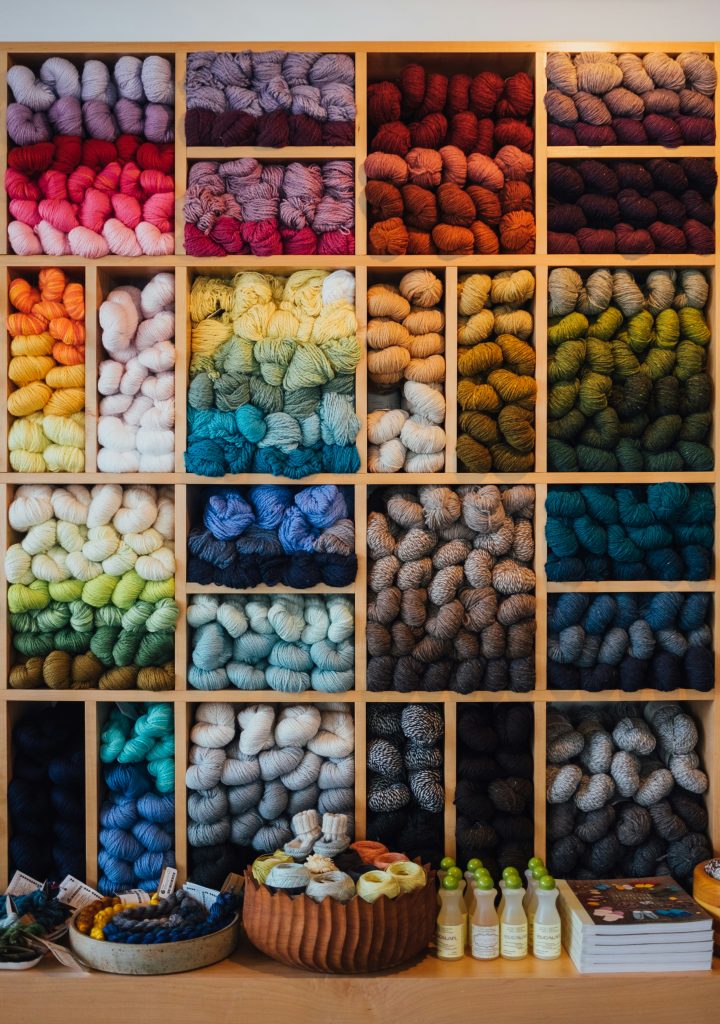
Group Into Organized Sections
Now we are going to think about how we want to store or display the items we have. Think about your space and how much room you have. Envision how you want your area to look. At this point, go through each category and think about the general way you want to store it. Divide your items into groups that you will be storing in each container. This will give you a better idea of how many containers you will need and the size of them.
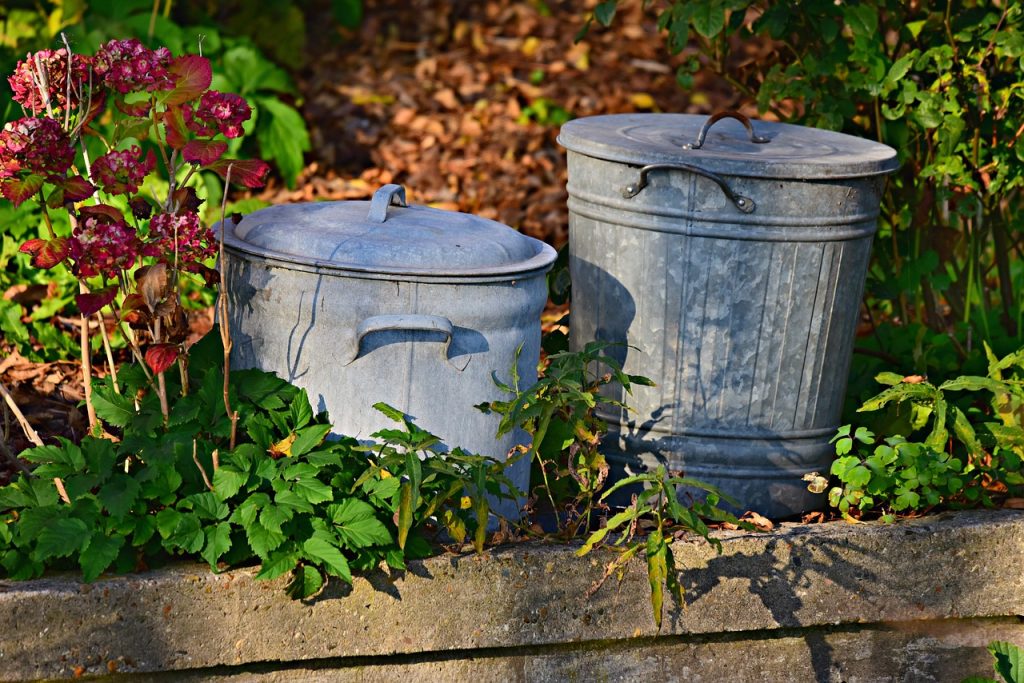
Get Rid Of Excess
Now that you have everything grouped in ways that you want them stored, you may notice that some piles of items may be too big to aesthetically fit into a container. Or you might have too many piles and not enough room for all the containers you’d like to have. At this point, some of your items may need to go… forever. Think about what items you want to actually keep, and what you can get rid of. BE PRACTICAL. I am a recovering “I could use this” hoarder, so trust me when I say that the potential of possibly using an item 10 years from now is NOT worth the energetic strain of having a cluttered space.
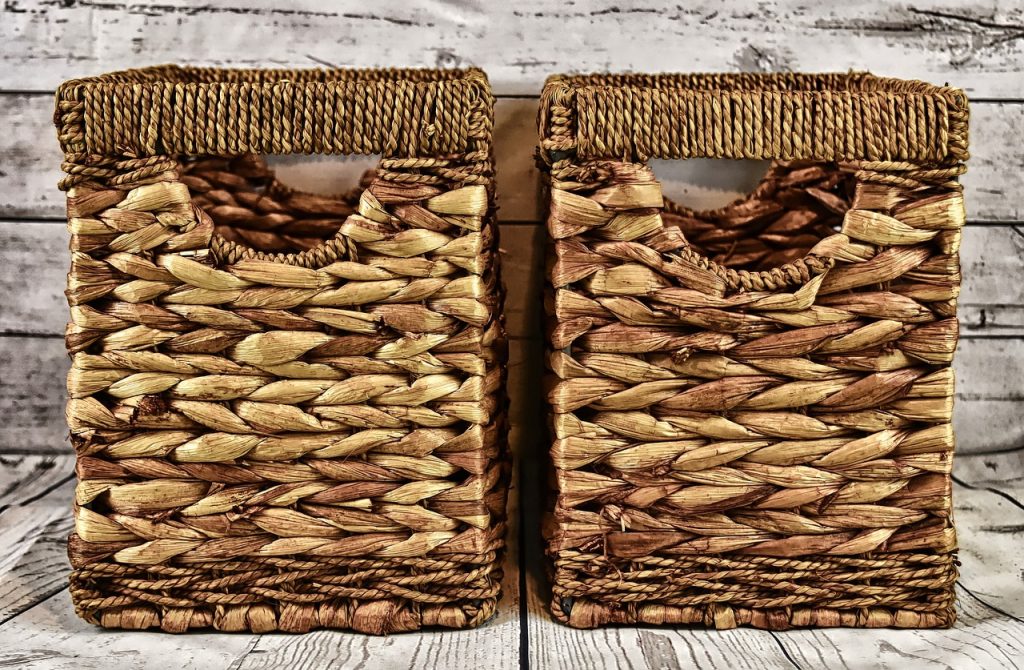
Brainstorm Storage for Organization
Everything in each pile will get stored together. Look at your piles and determine the size of container they will need. Also, think of where you want to place the containers and if your shelving can accommodate everything you have in mind. Storage can be expensive, but I love going to the Dollar Tree to see if they have anything useful and affordable! I have used empty cardboard boxes as temporary storage until I had the money to buy actual containers, too! When you buy bins, I suggest getting clear ones.
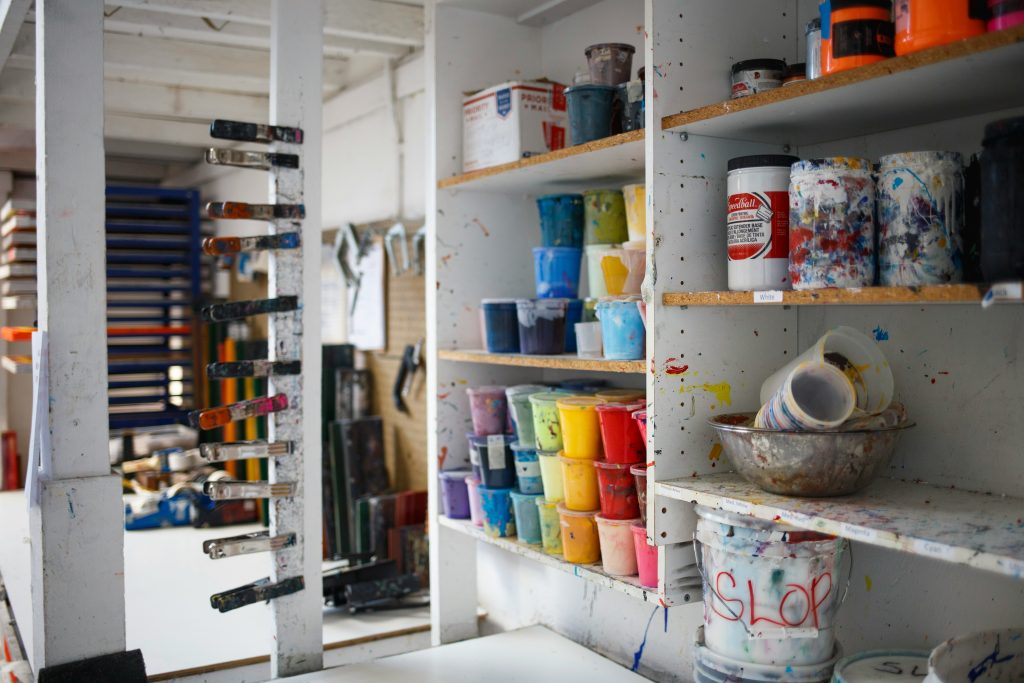
Store Items
Now is the time when everything finally comes together! Put your items into your bins and put them away! Think of what bins you will need to access the most, and place them at eye level. Bins that you hardly use can go on the top or bottom shelves. Try to resist the urge of bringing something back after you have already thrown it out. Just because you have the space for it, doesn’t mean you should keep it!
Enjoy Your Organization!
Clutter is overwhelming and energetically draining. I have learned that I was keeping my clutter out of fear. I was scared that I would need something and wouldn’t have it, which is reasonable to a degree, but it was coming at the expense of me being ashamed of my home. Decluttering and getting organized makes me feel so much more at peace. I also use my items even more than before because I actually know where they are!
I hope these tips have helped you! Organization takes practice, and learning how to keep a space tidy takes practice. Just keep trying, and you will achieve it!

Leave a Reply