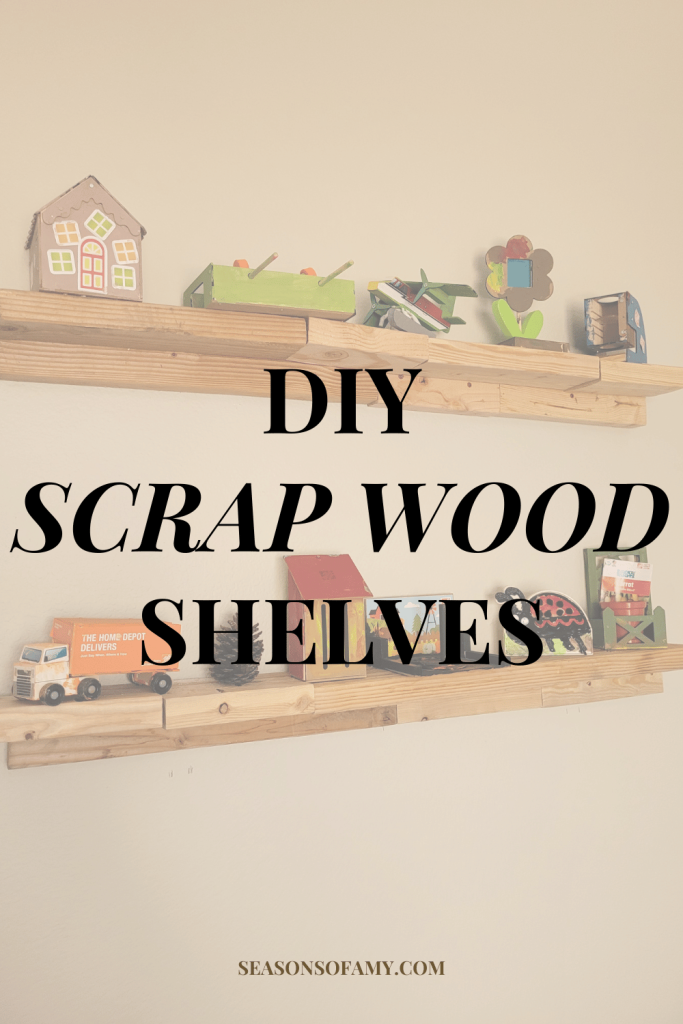
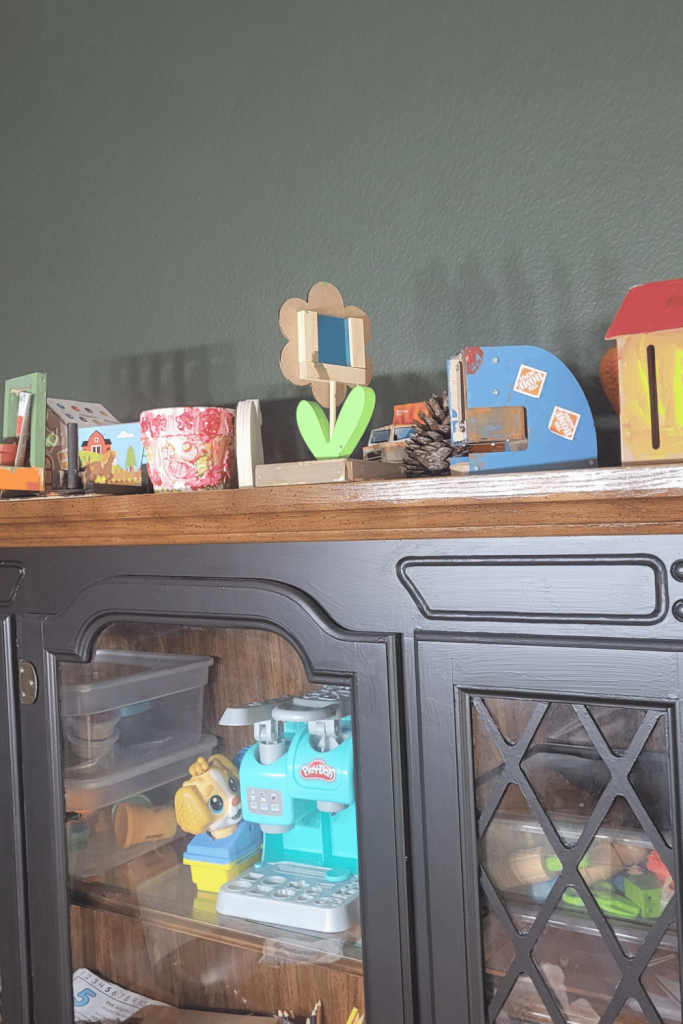
Hey friends! If you’ve been looking for a budget-friendly way to display your kids’ arts and crafts, I’ve got the perfect project for you. I recently tackled a super easy and affordable DIY that gave our home a cozy, rustic vibe – all by using scrap 2x4s from our garage! These DIY scrap wood shelves are perfect for showcasing all the creativity your little ones bring to life, and they’re so simple to make. Let me walk you through how I did it, so you can create your own gorgeous display in no time!

Why I Love These DIY Scrap Wood Shelves
First off, I have to say how much I love the look of these DIY scrap wood shelves. They’re not only practical but also add a rustic charm that feels so warm and inviting. I feel like when my projects are a little on the messier side, it lets my kids know that their work doesn’t have to be perfect either. Plus, using materials I already had on hand made this project super budget-friendly – a total win in my book! Whether you’re an experienced DIYer or just getting started, this project is the perfect way to add some personality to your space without breaking the bank.

Materials List
Here’s everything you’ll need to make these DIY scrap wood shelves:
- 2×4 pieces of wood (enough for the number of shelves you want)
- Wood screws
- Pocket hole screws
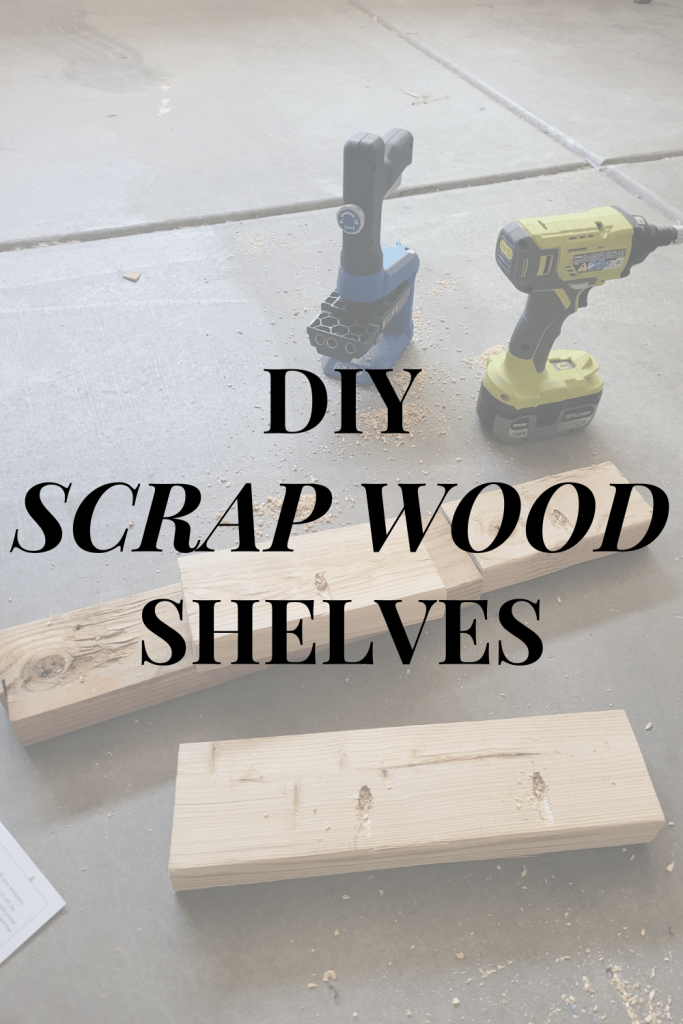
- Pocket hole jig
- Drill
- Stud finder
- Measuring tape
- Level

How I Made My DIY Scrap Wood Shelves
1. Gather Your Wood
I started by gathering the scrap 2x4s from our garage. I had a few pieces left over from previous projects, and they were perfect for creating shelves. If you don’t have any scrap wood lying around, you can easily pick up some inexpensive 2x4s from your local hardware store.
2. Measure Your Wall
Next, I measured the section of the wall where I wanted to install the shelves. I knew that the wood would fit on the wall, but I wanted to make sure it was centered.
3. Draw Lines and Label Studs
Once I had my measurements, I used a pencil to draw lines on the wall where I wanted to place each shelf. I made sure the lines were level and marked where the studs were with a stud finder. This is crucial for ensuring your shelves are secure and can hold the weight of your kids’ projects.
4. Drill Supporting 2x4s into the Studs
With my lines drawn and studs labeled, I drilled the 2x4s into the wall. These pieces act as the support for your shelves, so it’s essential to get them securely fastened into the studs. I used wood screws for this part to make sure everything was nice and sturdy.
5. Attach Shelving 2x4s with Pocket Screws
Now for the fun part! I took the 2x4s I wanted to use as the actual shelves and drilled pocket holes into the longer sides. If you’ve never used a pocket hole jig before, don’t worry – it’s super easy and makes attaching pieces of wood together a breeze. I then used pocket screws to attach these shelving 2x4s to the supporting 2x4s I had just drilled into the wall.
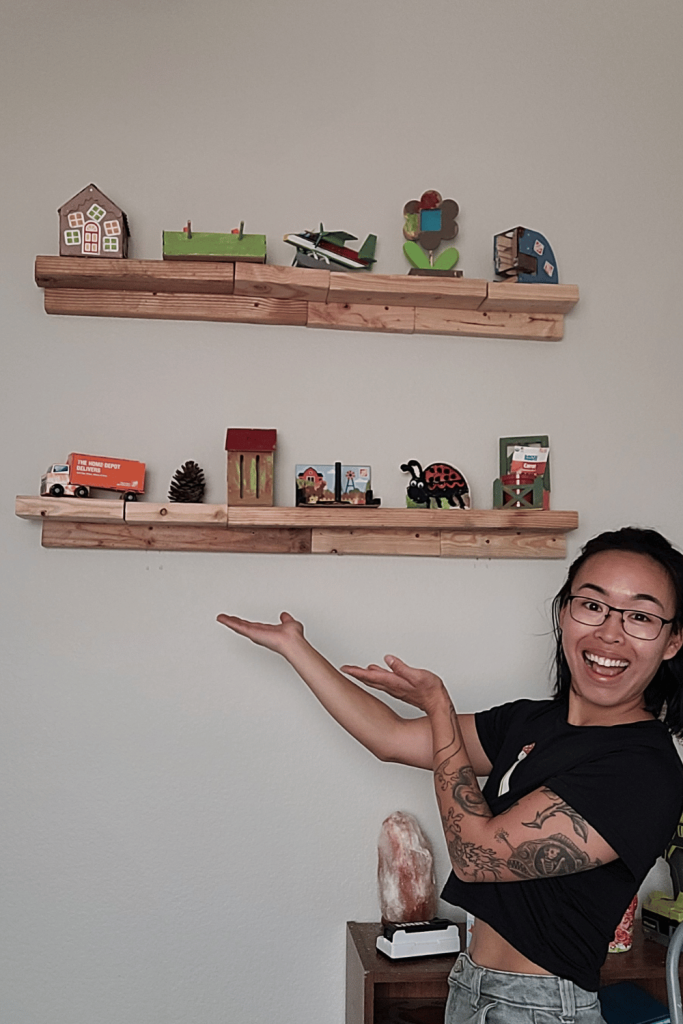
And that’s it! My DIY wood shelves were ready to be filled with my kids’ colorful creations. The whole project came together so quickly, and I absolutely love the finished look. These DIY scrap wood shelves are not only functional but also add a beautiful, rustic touch to our home.

Final Thoughts
I’m so thrilled with how these DIY scrap wood shelves turned out, and I know you’ll love them too. They’re the perfect blend of style and functionality, and the best part is that they didn’t cost a fortune to make. If you’ve been looking for a simple way to display your kids’ art, I highly recommend giving this project a try.

Leave a Reply