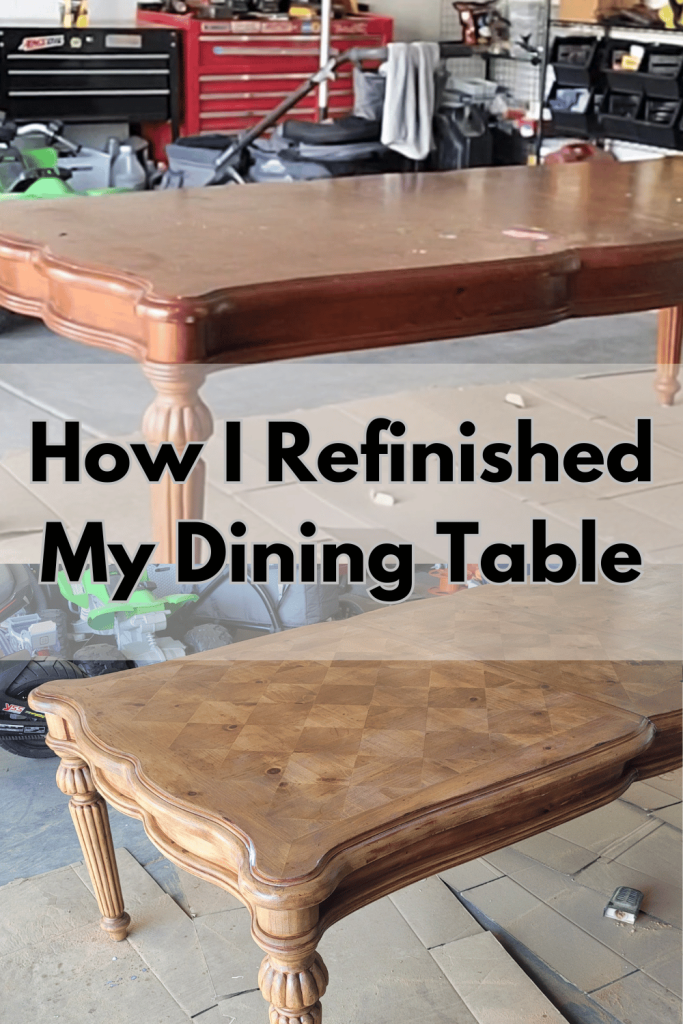
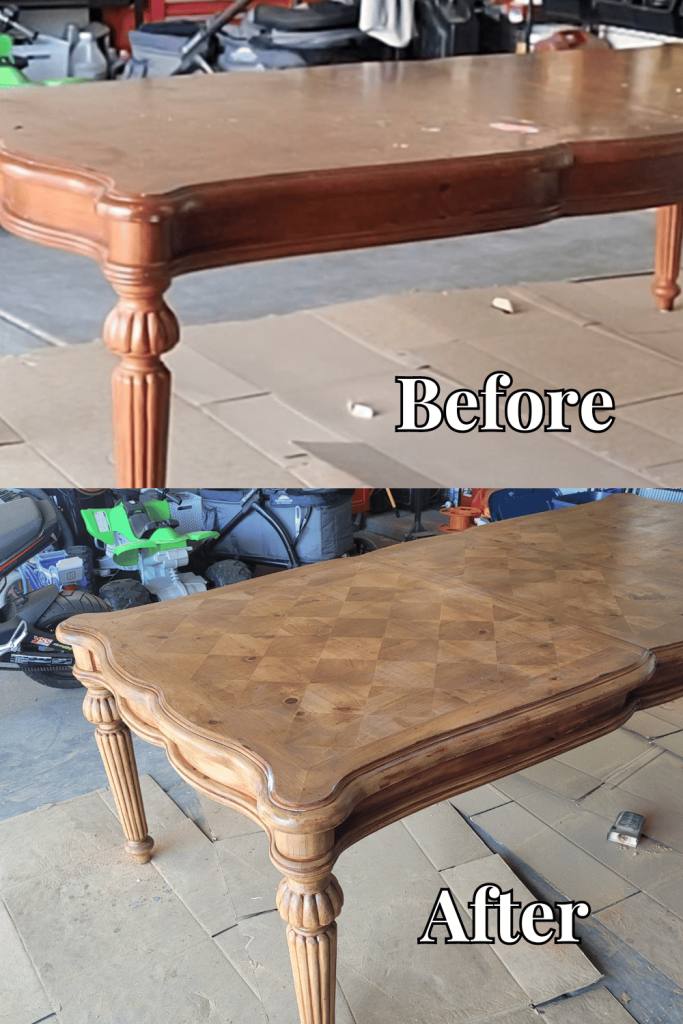
When I first found my dining table, I fell in love with its shape and sturdy design. However, the red tones in the stain didn’t quite match the neutral palette I wanted in my home. I knew a refinishing project was in my future, so I dove into DIY dining table refinishing research to transform my secondhand treasure into a piece that perfectly suited my space.

Let me take you through my experience and show you how to refinish a dining table to achieve the same beautiful, neutral look that I did.
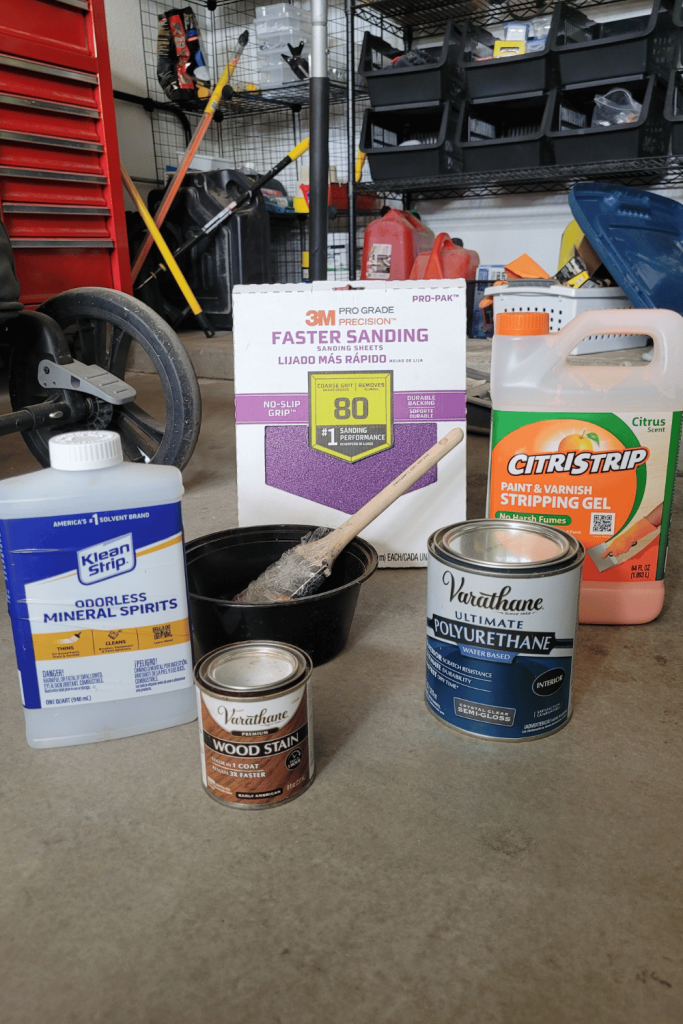
Materials I Used:
- Citristrip Gel Paint Stripper
- Plastic Wrap
- Mineral Spirits
- 80 Grit Sandpaper
- Orbital Sander
- Metal Scraper
- Small Plastic Scraper
- Varathane Early American Oil-Based Wood Stain
- Varathane Semi-Gloss Water-Based Polyurethane

My DIY Dining Table Refinishing:
1. Prep The Table
The first step in DIY dining table refinishing is to move the table to a well-ventilated area. I applied a generous layer of Citristrip Gel Paint Stripper all over the table and then wrapped it in plastic wrap to keep the stripper active. After letting it sit for about four hours, I was ready to move on to the next step.
2. Scrape Off The Finish
After removing the plastic wrap, I used both a metal scraper and a small plastic scraper to remove as much of the old finish as possible. This part was tricky, especially when working between the crevices of my table’s rounded legs. Someone on TikTok suggested using steel wool for those tough spots, so I’ll definitely try that next time!
3. Clean With Mineral Spirits
To get rid of any remaining goo or stubborn residue, I wiped down the entire table with mineral spirits. This step helped prepare the surface for sanding and ensured that no sticky spots were left behind. It is okay if you still have a little bit left, but you want to remove enough of it so that it doesn’t gunk up your sandpaper.
4. Sanding
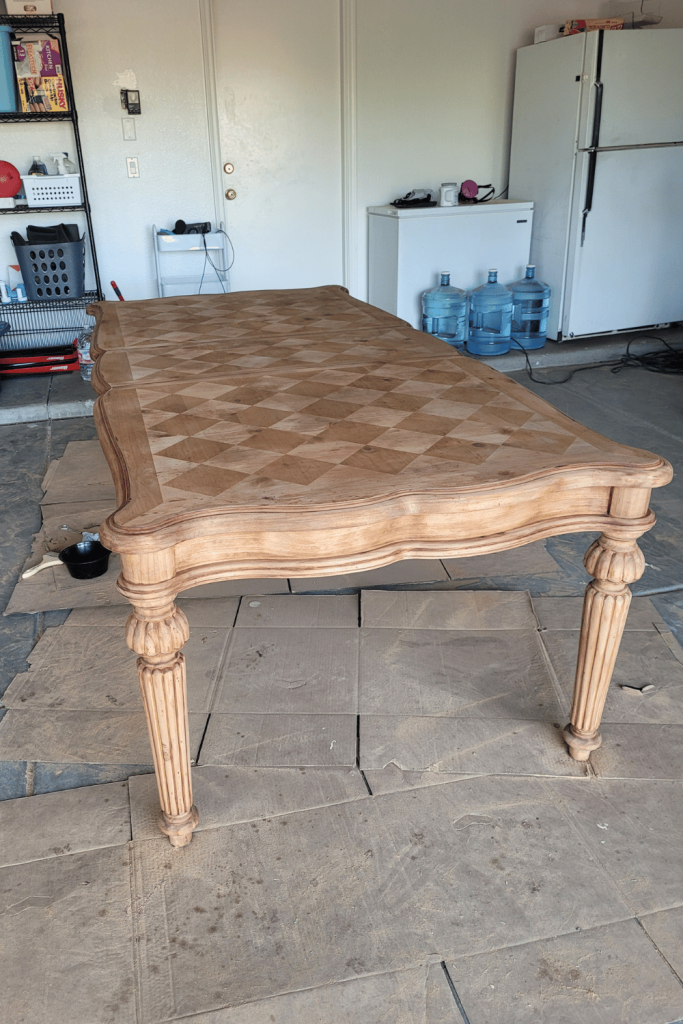
Now, onto the sanding! I used 80 grit sandpaper to remove any lingering finishes. For the tabletop, I used an orbital sander with 80 grit sandpaper too. Though it’s typically recommended to increase your grit to 220 for a smoother finish, I was just ready to be done at this point, so I stuck with 80 grit. This left the table with a more rustic look, which I actually loved. I also didn’t sand thoroughly in the crevices, leaving some of the old color behind, which added a nice aged character to the table. After sanding, I wiped down the table to remove all the sawdust.
5. Staining
Next up was the stain. I chose Varathane’s Early American Oil-Based Wood Stain to give my table a warm, neutral tone. Since I didn’t have a lot of stain left, I diluted it with mineral spirits (about 1 part stain to 6 parts spirits). This not only helped stretch the product but also lightened the color, giving it an aged, vintage look. I applied just one coat of the diluted stain, which was enough to achieve the look I wanted.

6. Sealing
Once the stain was dry (I waited about 6 hours), I sealed the table with Varathane’s Semi-Gloss Water-Based Polyurethane. I love using water-based polyurethane because it dries quickly, is less messy, and has a much milder odor. I applied three coats, waiting two hours between each one. Read the container of whatever stain you are using to determine how long you need to wait before staining.

I absolutely love how my table turned out! The red tones are gone, and the new finish perfectly complements the rest of my decor. If you’re considering how to refinish a dining table yourself, don’t be afraid to dive in. With a little patience and the right materials, you can completely transform a piece of furniture and give it a fresh, new look.
If you’re curious to see how this process went, I have videos of the project on my TikTok. Check them out for more DIY dining table refinishing inspiration!

Leave a Reply