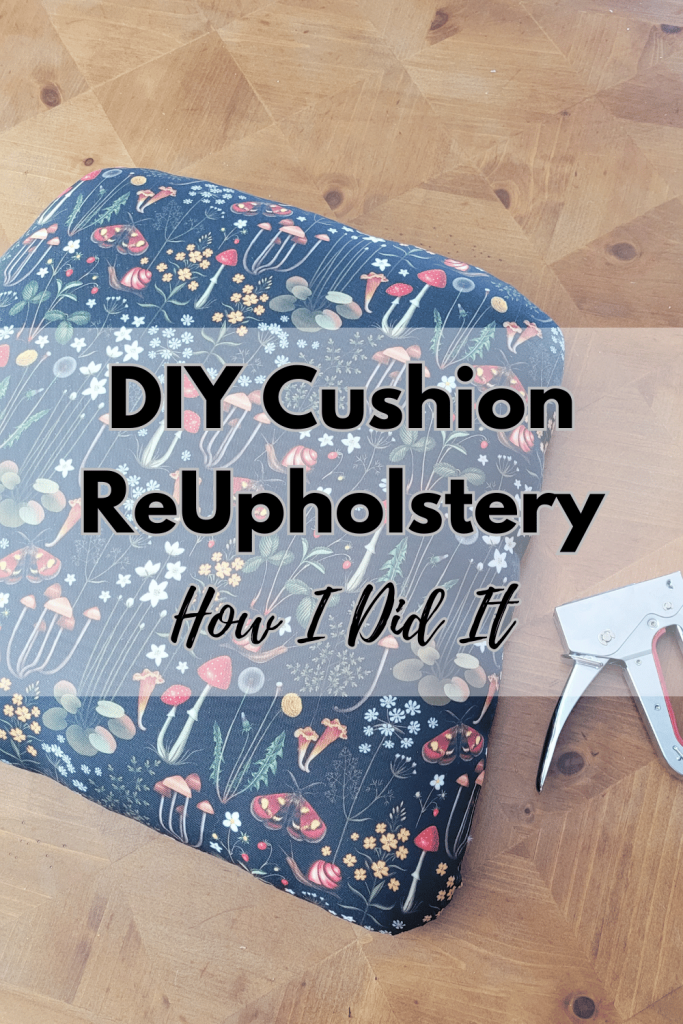
Hey, friends! I’m so excited to share one of my latest DIY projects with you—how to reupholster a dining chair cushion! I recently scored a set of five solid wood dining chairs from Offer Up. They were an absolute steal, and the structure was perfect, but the cushions… not so much. The fabric was soiled and definitely needed some love. So, I decided to take matters into my own hands and give these chairs a makeover with new foam, batting, and the cutest dark woodland, whimsical fabric to add some personality to my dining space. Plus, I posted the whole process on TikTok, so be sure to check it out for more DIY inspo!
Materials:
As an Amazon Associate I earn from qualifying purchases.
- Screwdriver
- Staple remover (They make these special upholstery tools but I used a flathead screwdriver and plyers)
- 2-inch high-density cushion foam
- Heavyweight batting
- Fabric (I chose this dark woodland, whimsical print)
- Dust cover fabric
- Serrated knife or foam cutter (I used a bread knife, lol)
- Fabric scissors (I used children’s scissors from the dollar store, lol)
- Staple gun
- Staples
- Sharpie
How To Reupholster A Dining Chair Cushion
1. Unscrew the cushion from the chairs.
Start by flipping your chair over and locating the screws underneath that hold the cushion in place. Use your screwdriver to remove them and set the cushion aside. Easy peasy! (If you have trouble locating the screws, just look it up on YouTube)
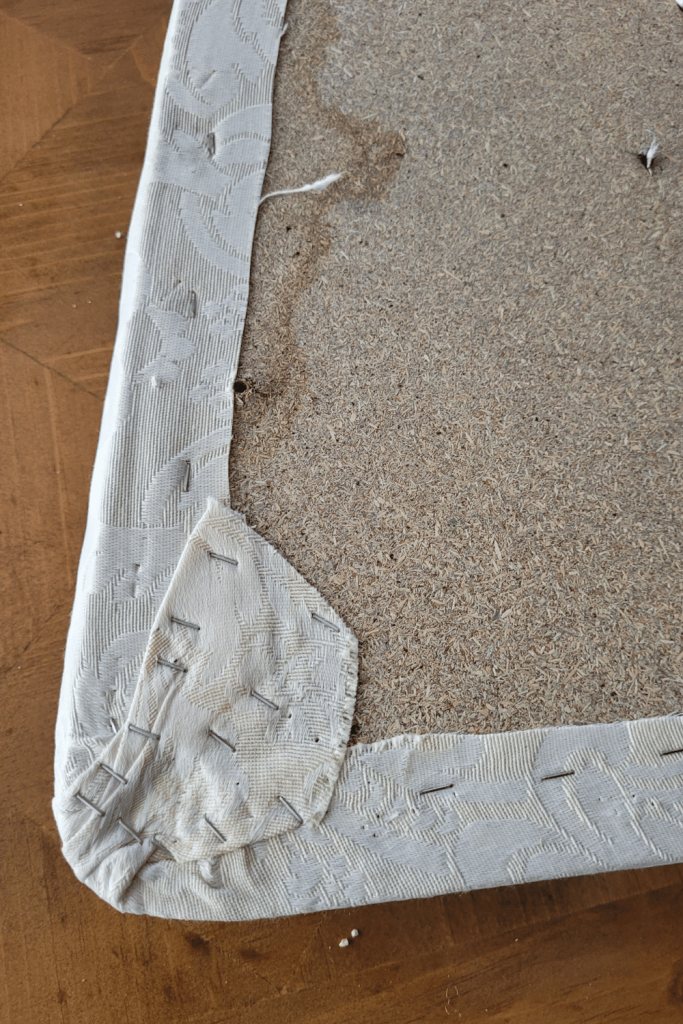
2. Remove all the staples.
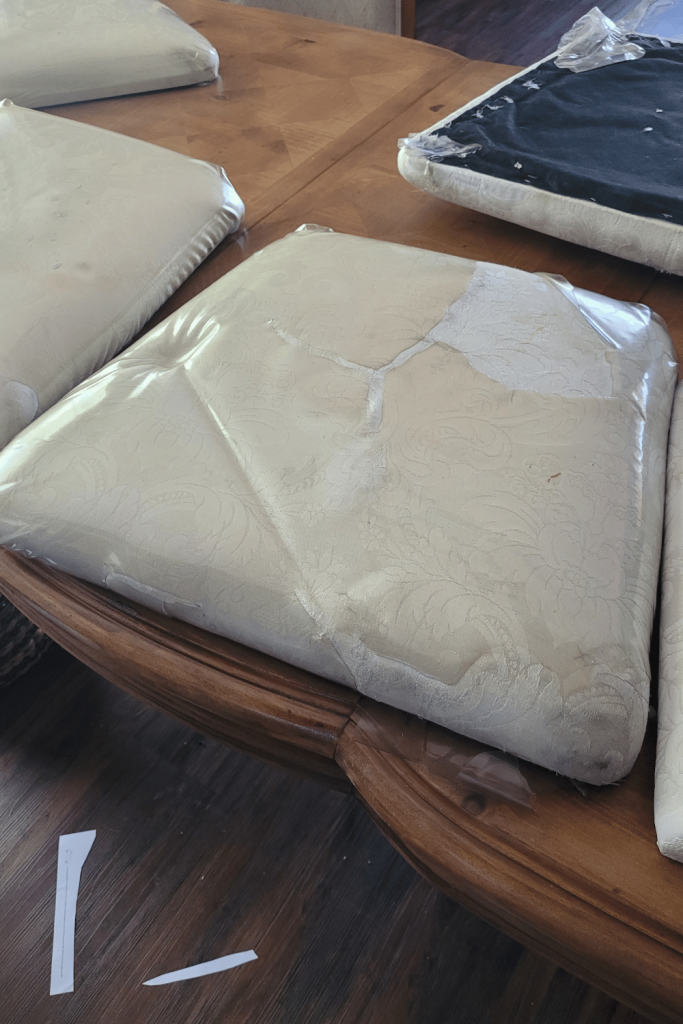
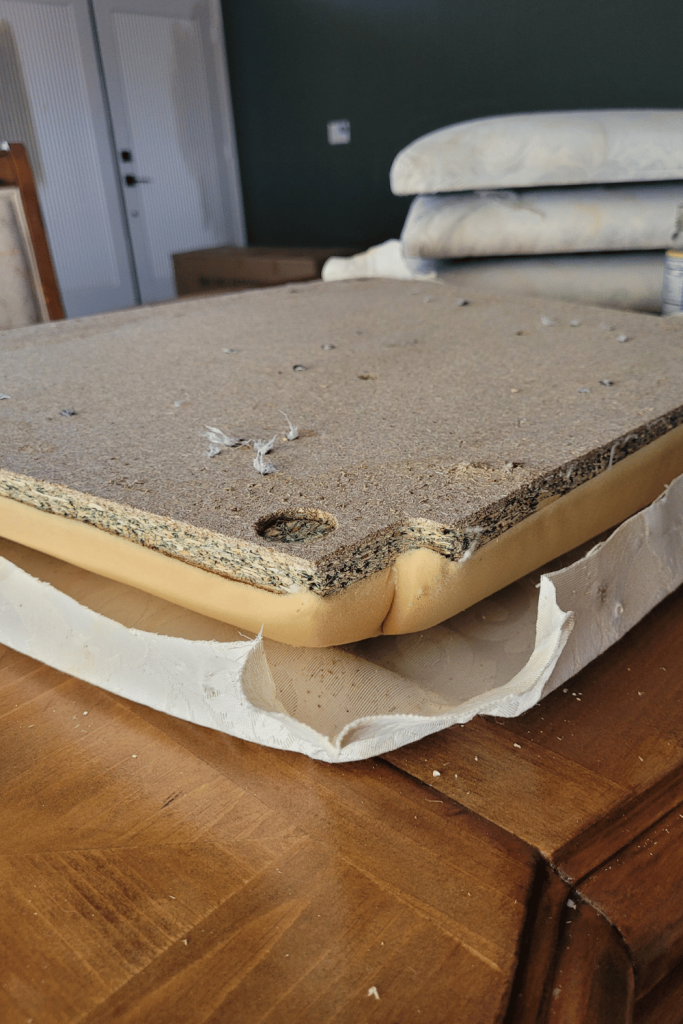
Now comes the satisfying (and most time consuming) part—removing all those old staples. Depending on your chair’s age, you might find just foam, or if it’s super old, even straw! Save the old fabric covers; they’ll be your guide for cutting your new fabric. Oh, and keep a jar handy to collect the staples, especially if you have kids or pets around.
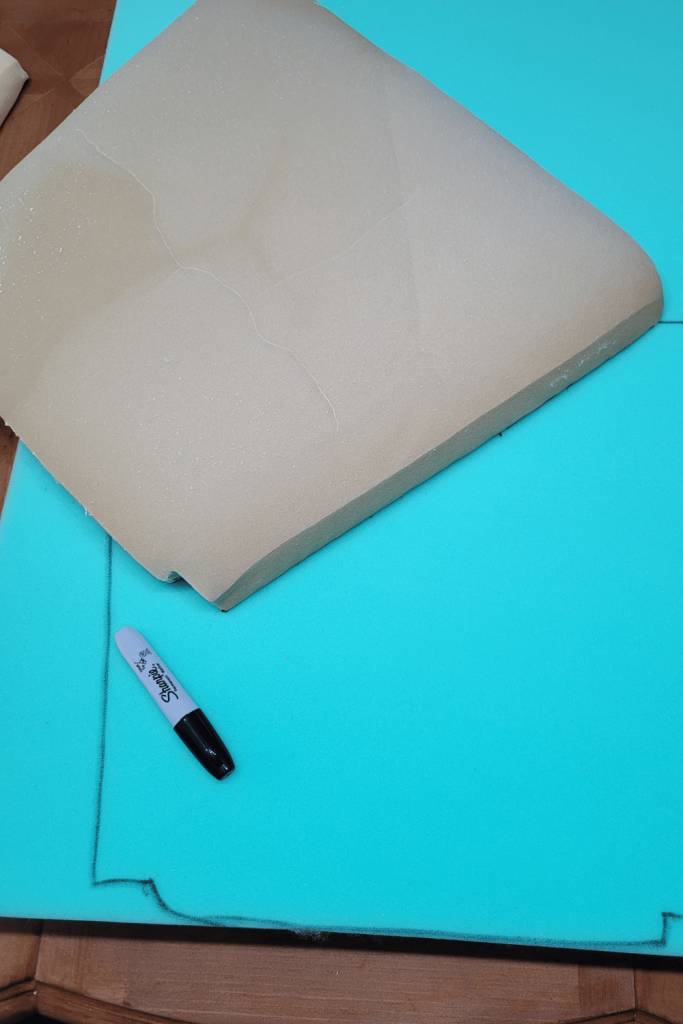
3. Cut out your foam.
Take the wood backing of the cushion and place it on your high-density foam. Trace the outline with your Sharpie, then grab your serrated knife (or bread knife, like I did, lol) and cut out the shape. Trust me, scissors won’t work for this!
4. Cut your batting and fabric.
Place the old fabric cover onto your batting and cut it to size, adding an extra inch around the perimeter just in case. Better safe than sorry! Use the same method to cut your fabric. You don’t want to waste material by cutting it too small.
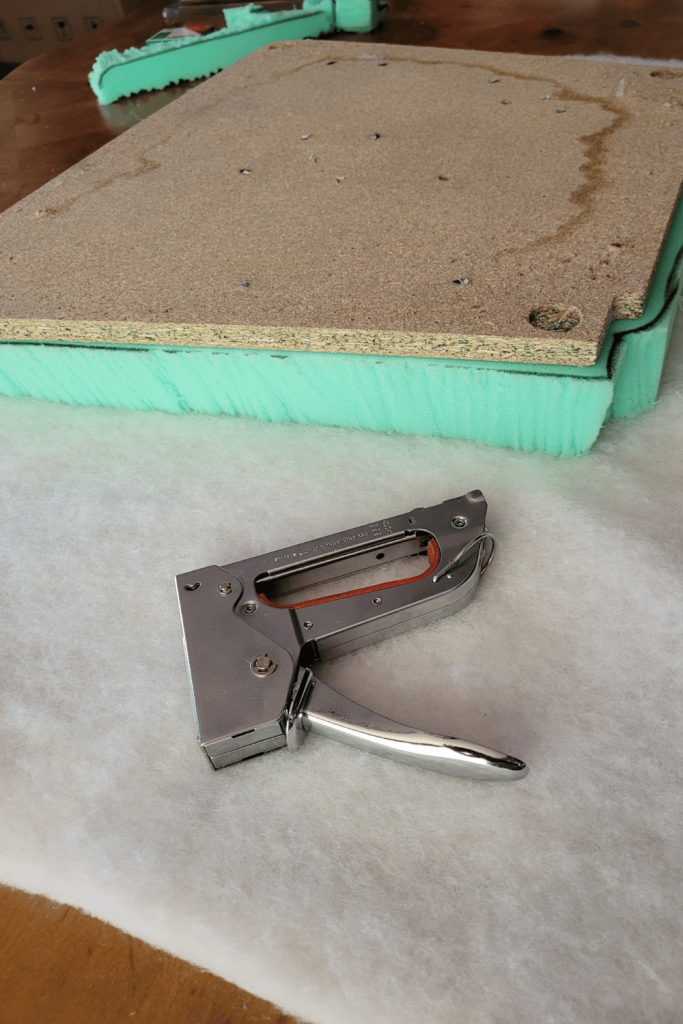
5. Assemble the cushion.
Lay your batting on a flat surface, place the foam on top, and then add the wooden cushion backing. Gently pull the batting around the sides of the wooden backing and start stapling. Begin by putting a few staples in the center of each side to ensure you have enough material to wrap around the entire frame. Once the sides are done, tackle the corners—don’t overthink them, just do it! You can always remove and redo the staples if needed.
6. Attach the fabric.
Now, it’s time for the fun part—adding that cute fabric! Follow the same method as with the batting. Use your palm to gently smooth out the fabric before stapling. Pulling the fabric too tight can cause puckering. Also, make sure your fabric is oriented correctly before you start stapling. This step really brings the cushion reupholstering to life!
7. Add the dust cover.
Finally, cut a piece of dust cover fabric large enough to cover any exposed wood on the bottom of the cushion. Staple it into place, and trim any excess material. This step gives your chair that polished, professional look.
Have Fun!
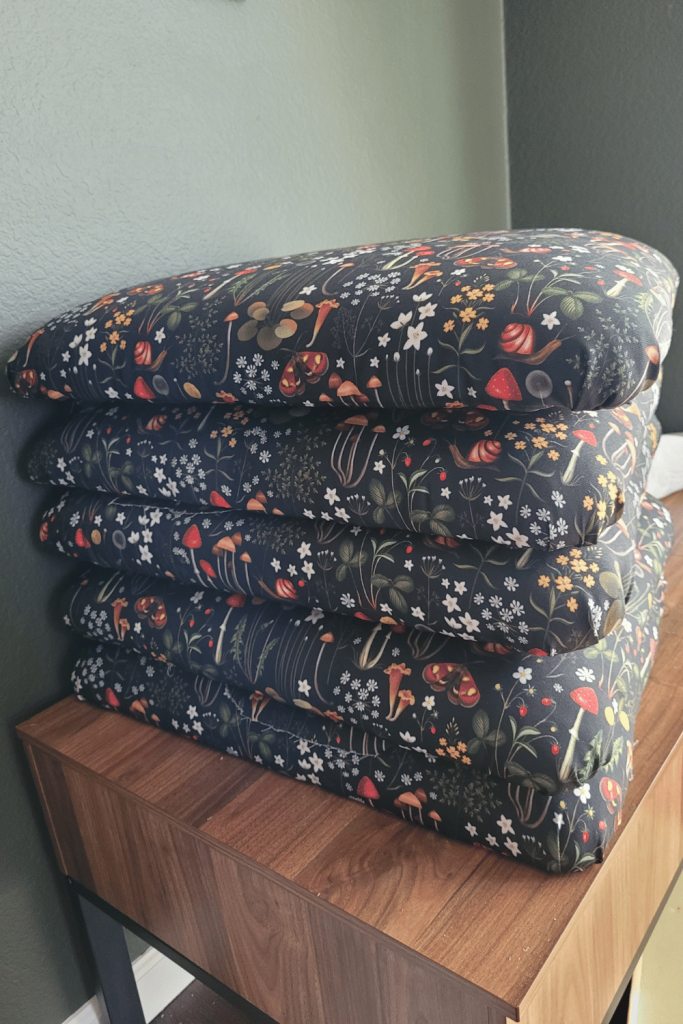
And there you have it! That’s how to reupholster a dining chair cushion. It was so much easier than I expected, and I absolutely love the way my thrifted chairs turned out. They’ve added so much character to my dining room, and it’s all thanks to a little cushion reupholstering. If you’re looking to give your chairs a fresh, new look, I highly recommend giving this DIY project a try. And don’t forget to check out my TikTok or Instagram for my DIY adventures!
See you next time!

Leave a Reply