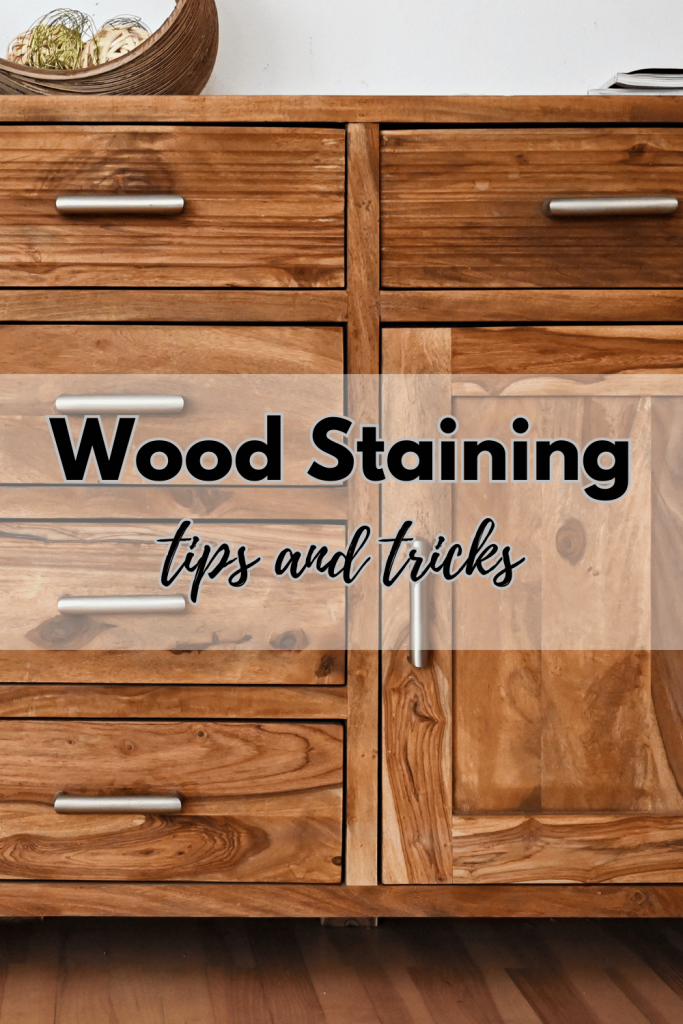
So, I’ve recently fallen in love with refinishing furniture. It all started with a thrifted dining table, and now, I’ve become that mom who’s constantly rearranging and restaining everything in sight. Staining wood gives new life to old pieces, but as someone who’s just learning how to stain furniture, I’ve had a few learning curves along the way. If you’re new like me, here are some tips that I’ve picked up to help you get that pro finish on your DIY furniture projects.

I will be providing links to products that I personally use! As an Amazon Associate I earn from qualifying purchases.
Before You Start: The Preparation is Key
Tip 1: Thoroughly Sand the Surface
Before I learned how to stain wood, I didn’t realize how important sanding was. I thought I could skip this part—big mistake! Start with rough sandpaper (like 80 grit) and work your way up to finer grits (like 220). It makes such a huge difference in how smooth the finish looks in the end. If you are refinishing a piece of furniture, this is a mandatory step to remove the previous varnish. If you do not remove the previous finish completely and evenly, the stain won’t absorb properly. For hard to reach areas, I use sanding sheets!
TIP 2: Use an Orbital Sander to Minimize Scratches
My first project was hand-sanded, and it took forever! Then I discovered the magic of the orbital sander, and wow—it saves so much time! Plus, using the orbital sander helps prevent those ugly sanding scratches that can ruin the final look. It’s now my go-to when prepping wood for stain. I use the SKIL 5″ Orbital Sander! It is affordable and goes a long way! You can use it with any 5″ sanding pads you find at your hardware stores
TIP 3: Clean the Surface Completely
After sanding, I used to rush right into staining—oops. Now, I always make sure to thoroughly clean off the wood with a tack cloth or vacuum. Trust me, dust particles will show through once you apply the stain, and you don’t want to spend all that time sanding only for your finish to be less than perfect. I like to use Klean Strip Mineral Spirits for any residue on on my surface. It dries so quickly!
TIP 4: Test the Stain on a Scrap Piece
This was a game changer for me! After staining my first piece too dark, I learned the hard way to test the stain on a scrap piece of wood. Now, I never skip this step because it shows me how the stain will actually look on my furniture before I fully commit. Every wood type absorbs stain differently! Learning how to stain wood is all about those small, precautionary steps!
During the Staining Process: How to Stain Furniture Like a Pro
TIP 5: Use a Pre-Stain Wood Conditioner
This was something I wish I’d known when staining my dining table. Some types of wood, especially softer ones like pine, absorb stain unevenly, leaving blotchy areas. I now use a pre-stain conditioner to help the wood absorb the stain more evenly. It’s worth the extra step! A good one to try is Varathane Wood Conditioner!
TIP 6: Apply Stain with the Grain
When I first learned how to stain furniture, I didn’t realize how important it is to brush or wipe the stain in the direction of the wood grain. Going against the grain can leave streaks and make the finish look messy. Staining with the grain gives it that beautiful, natural look. I typically use Varathane Early American Wood Stain for everything in my house.
TIP 7: Wipe Off Excess Stain Quickly
Staining is all about timing! I used to leave the stain on for too long, thinking it would make the color richer. But what I found is that if you leave it too long, it becomes blotchy and uneven. Now, I always wipe off the excess after just a few minutes for a smoother finish.
TIP 8: Work in Sections
If you’re working on a larger piece, like a dining table or dresser, don’t try to stain the entire piece at once. I learned this when I tried to stain a large table, and it was drying faster than I could wipe it off. Working in smaller sections is much more manageable and gives you a more even finish.
After Staining: Sealing the Deal
TIP 9: Let the Stain Dry Completely
This one is so important. You’ll be tempted to rush, but patience is key when learning how to stain wood. Follow the recommended drying times (usually 24 hours) before applying a protective topcoat. Rushing will only smudge the stain, which is super frustrating after all your hard work.
TIP 10: Apply a Protective Finish & Lightly Sand Between Coats
Once your stain is dry, always apply a protective topcoat like polyurethane. I used to skip this step, but sealing the wood makes the finish last so much longer! My favorite is Varathane’s Water Based Sealer in Satin!
Final Thoughts on Learning How to Stain Furniture
Staining furniture has become one of my favorite DIY hobbies, even though I’ve made plenty of mistakes along the way. But with each project, I’m learning more about how to stain furniture and getting better results. If you’re a fellow newbie like me, hopefully, these tips help you avoid some of the mistakes I made early on. Trust me, learning how to stain wood is super rewarding once you get the hang of it!
Happy staining!

Leave a Reply