If you’ve ever wondered how to build a fireplace without all the hassle and heavy lifting, this post is for you! I recently upgraded our living room with a Wayfair fireplace, and let me tell you—it was so easy! I used the Gregry 43.31” W Electric Fireplace from Wayfair for $369.99, and with just a little bit of painting and some simple fireplace insert installation, our space was transformed. Here’s a full breakdown of how I did it, step by step.

Materials I Used
As an amazon associate, I may receive commission from qualifying sales.
- Wayfair fireplace (Gregry 43.31” W Electric Fireplace Insert)
- Zinsser Bullseye 1-2-3 Primer
- Black paint (Cute, but the enemy of having white dog hair everywhere)
- Paintbrushes
- Multitool (for cutting Grooves for cords)
- Jigsaw or 2 1/2″ Hole Drill Saw Kit (for wiring extension cords into the mantel)
- Toilet shims (to level the bottom of the mantel)
- Cabinet base trim
- Wooden Mantel (I will have a separate post soon for this)
- Extension cord (for the fireplace insert)
Now, let’s dive into how to build a fireplace using a Wayfair fireplace mantel and insert.
How To Build A Fireplace (how i did it, anyways…)
Step 1: Assemble the Wayfair Fireplace
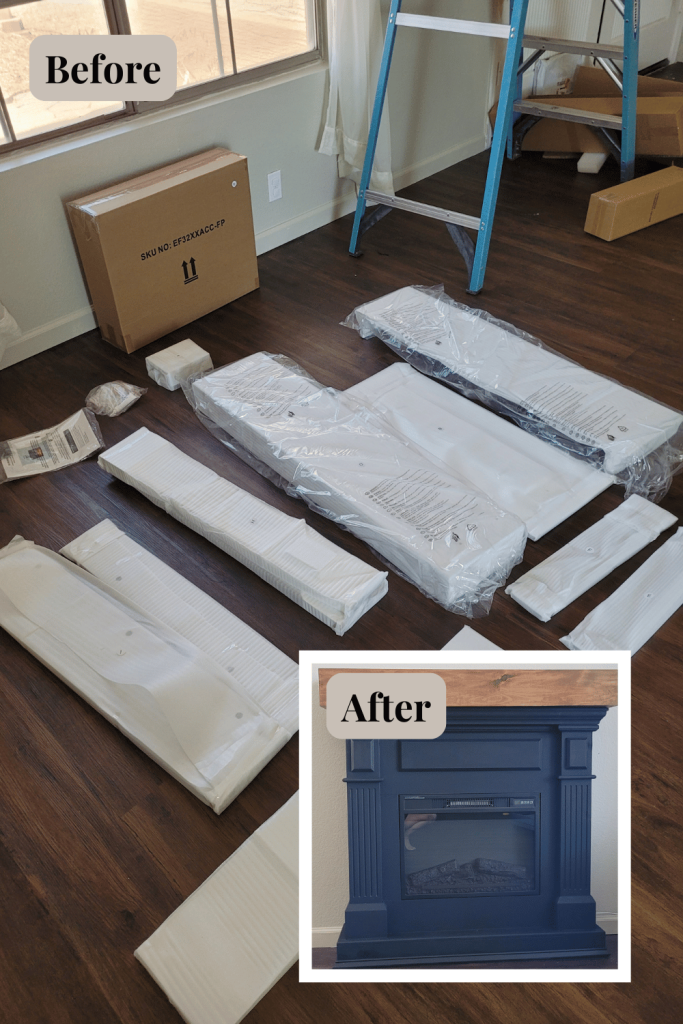
When it comes to learning how to build a fireplace the easy way, choosing a pre-manufactured mantel and insert is key. Following the instructions, I had it fully put together in no time—fireplace insert installation doesn’t get much easier than this!
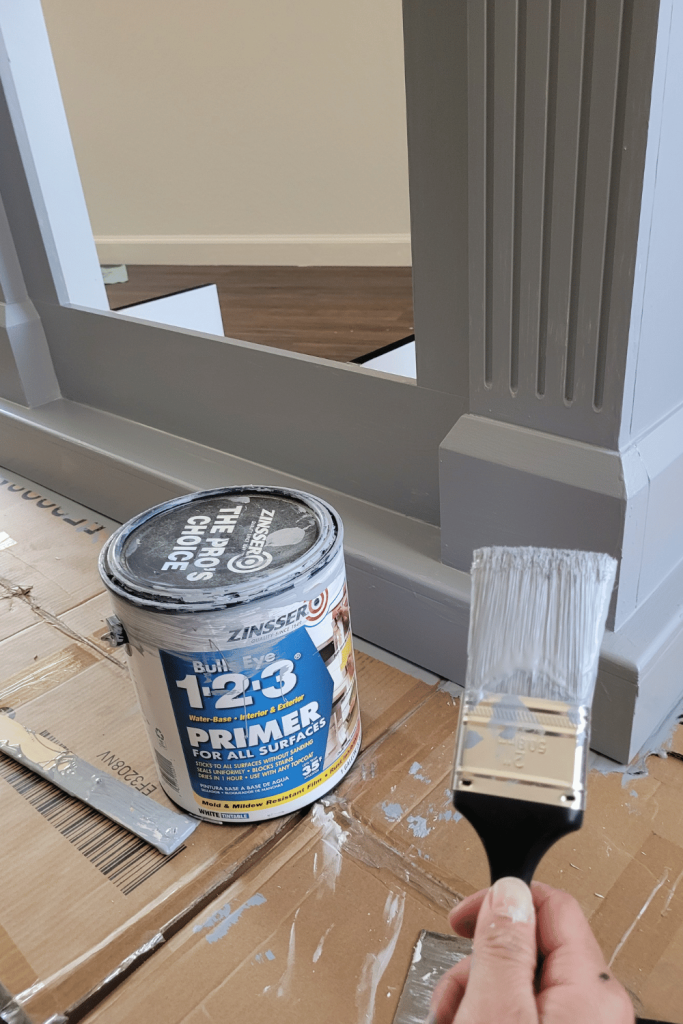
Step 2: Prime & Paint Your DIY Fireplace
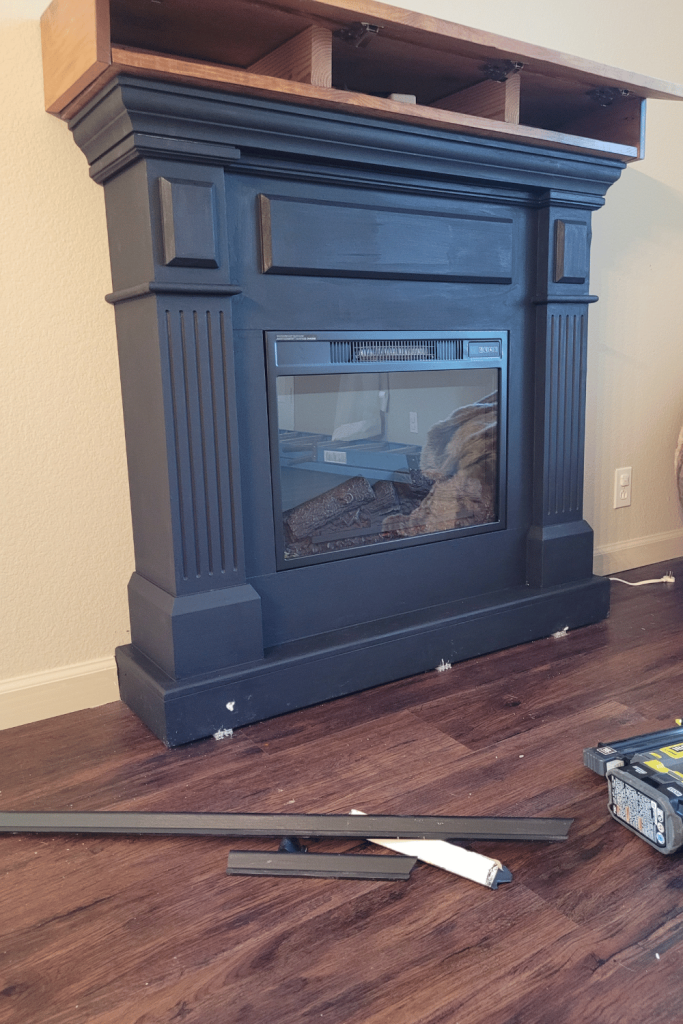
After assembling the Wayfair fireplace, I primed the mantel with Zinsser Bullseye 1-2-3 Primer. This step is crucial to ensure the paint adheres well. Once the primer dried, I gave it a chic, modern look by painting the entire DIY fireplace mantel black. A satin finish added just the right amount of sheen to the piece, making it look custom and high-end! … Until the kids and dog hair got to it…
Step 3: Cutting for Cords
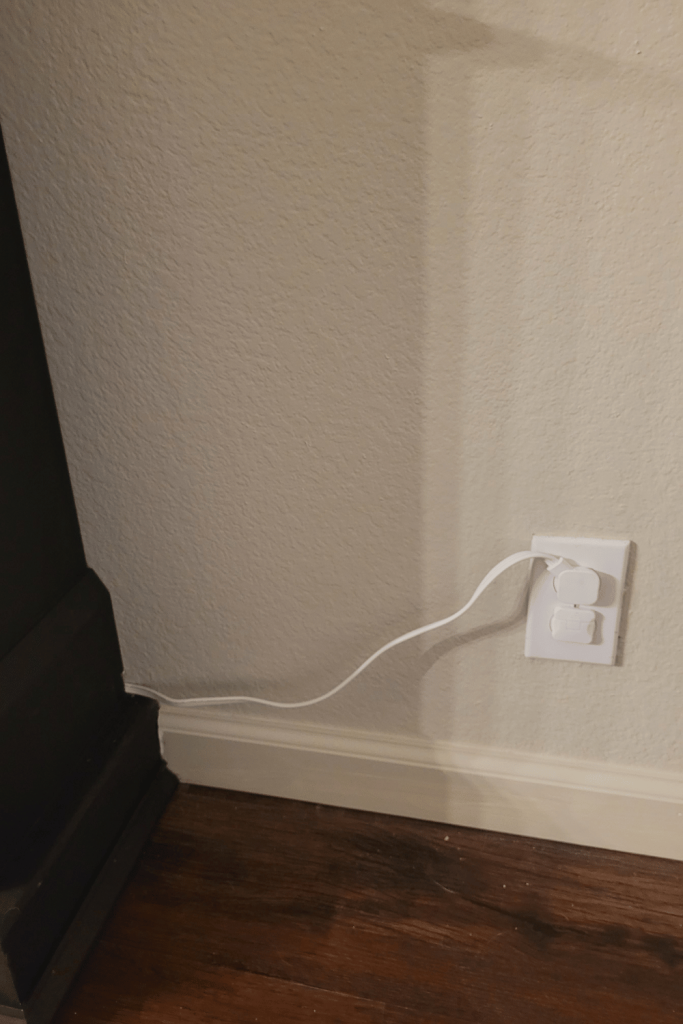
For a clean and polished look, I needed to hide the cords. To do this, I used a multitool to cut a small divot in the side of the mantel, allowing the fireplace to be flush against the wall with the extension cord still being able to reach an outlet. I originally wanted to cut the drywall and move the power outlet directly behind the fireplace, but that would defeat the purpose of me wanting this to be easy and lazy lol. I still think it looks great! Nothing a faux plant can’t hide!
Step 4: Cut a Hole for Wire Management
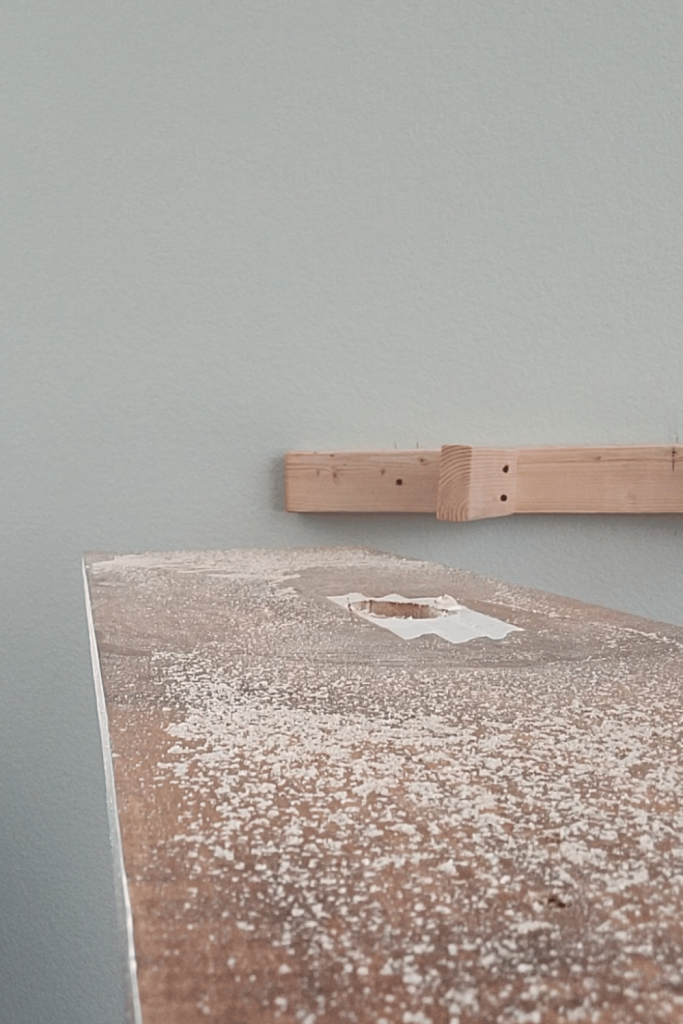
Next, I drilled the bottom panel of my wooden mantel to the top of my manufactured fireplace. Then, I cut a hole in the top of the mantel to feed all the wires through. Make sure the hole is big enough for plugs to fit though. I used a jig saw, but I should have used a 2 1/2 circular cutting drill bit. I wired an extension cord from a wall outlet, behind the mantel, through the top of the manufactured mantel. This will be hidden by the top of a wooden mantel that I had built.
Step 5: Install the Wayfair Fireplace on the Wall
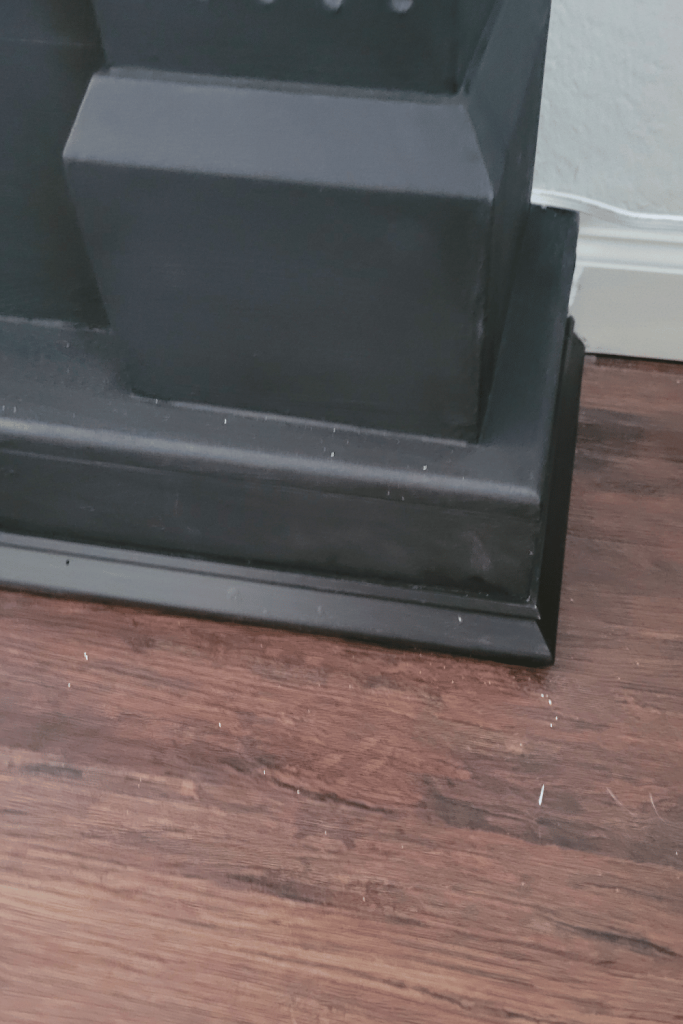
Here’s where the project really came together! I positioned the Wayfair fireplace on the wall and removed the baseboards so it would sit flush. To make sure the mantel was level, I used toilet shims to prop up the bottom of the DIY fireplace mantel. I cut the excess pieces of shim with my multitool. This made the back perfectly even with the wall.
Step 6: Install Mantel Supports (The “Built-In” Part)
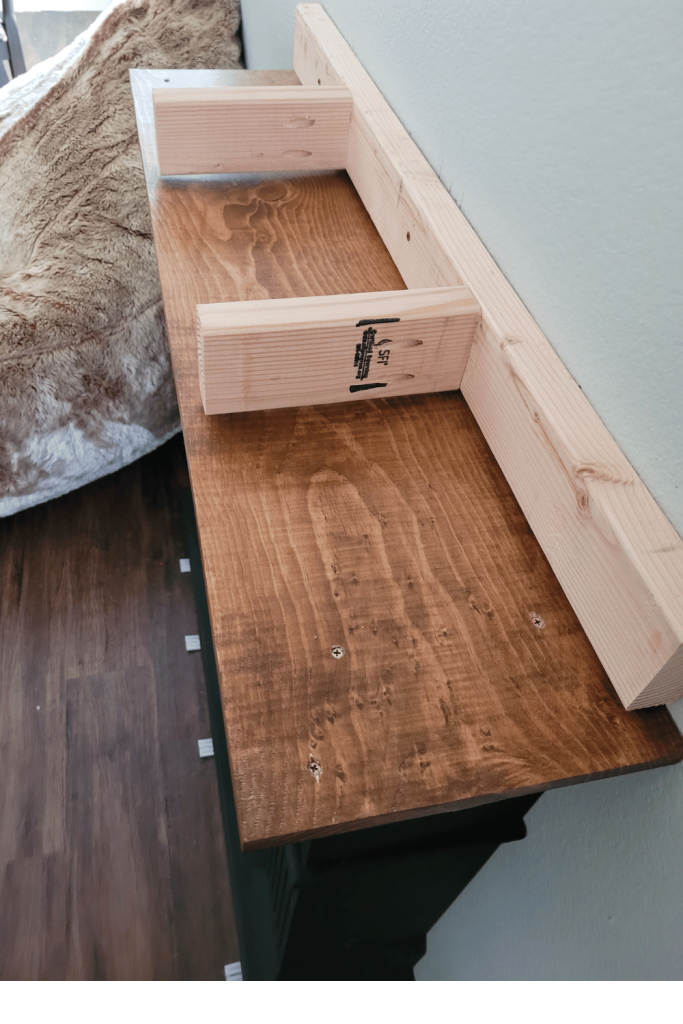
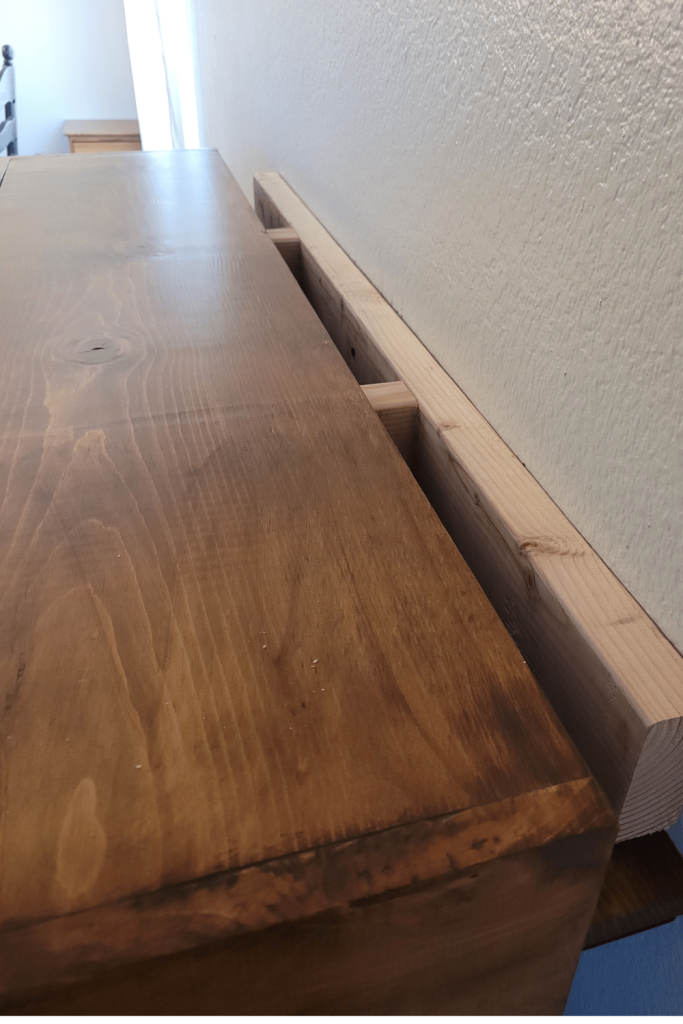
I built a wooden mantel with hinges on the front. This created hidden storage where I could tuck away the cords and electrical components from the fireplace insert installation. It’s functional and stylish, giving the space a polished, high-end vibe. I drilled a 2×4 into wall studs, added some supports to it. I will be attaching the mantel to this.
Step 7: Add Base Trim and Install the Mantel
After shimming the base, I added cabinet base trim around the bottom of the Wayfair fireplace for a built-in look. I painted the trim black to match the mantel. Lastly, I installed the wooden mantel by screwing it to the 2×4 supports, completing the look. The front panel opens and closes for easy access to the cords. I will have a blog post out about how I went about planning and building the wooden mantel in more detail!
The Finished DIY Fireplace Mantel and Insert
And just like that, I had a stunning, custom-looking fireplace in my living room! Learning how to build a fireplace is overwhelming, but using this Wayfair fireplace insert and mantel made this project super easy! It took just a weekend to complete, and now we have the perfect cozy spot to enjoy all year round.

Leave a Reply