If you’re looking for a budget-friendly way to elevate your outdoor space, making your own diy concrete patio pavers is the perfect project! As a mom of a single income household, I’m always looking for creative, affordable ways to improve our yard. Using concrete molds to create my own stepping stones has been one of the best decisions I’ve made. Not only did I save money (5 dollars to fill all 6 molds!), but I was able to customize the pavers to fit my space exactly how I wanted.
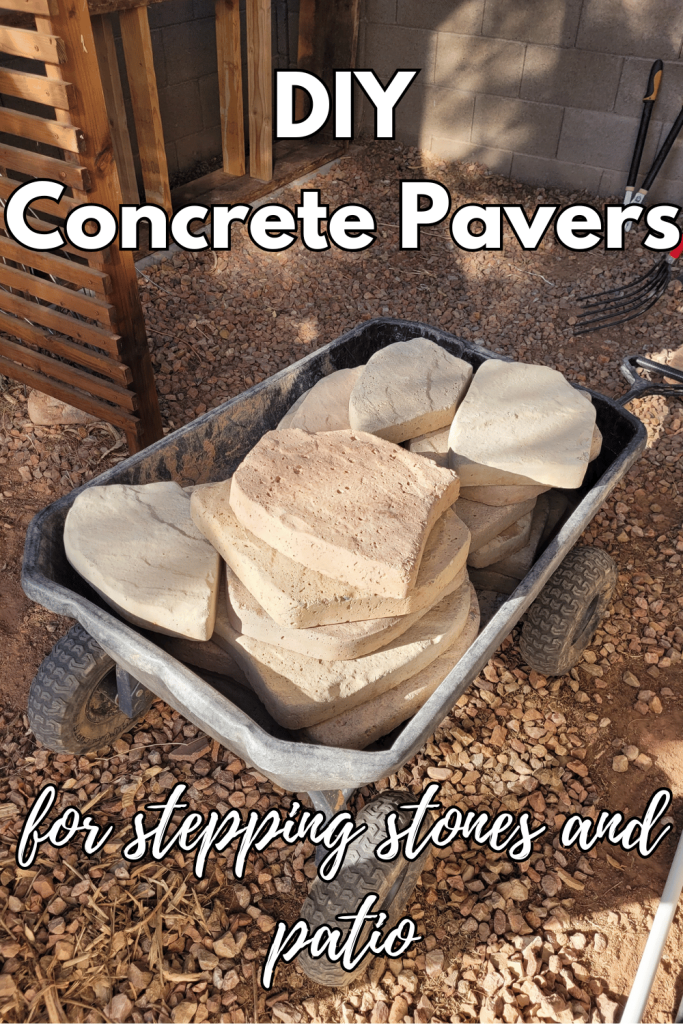
In this post, I’ll walk you through how I made my own diy concrete patio pavers with concrete molds and show you how they can also double as stepping stones throughout your yard. Trust me, if I can do it, so can you!
Materials You’ll Need for DIY Concrete Patio Pavers
To get started, here’s a list of the materials I used:
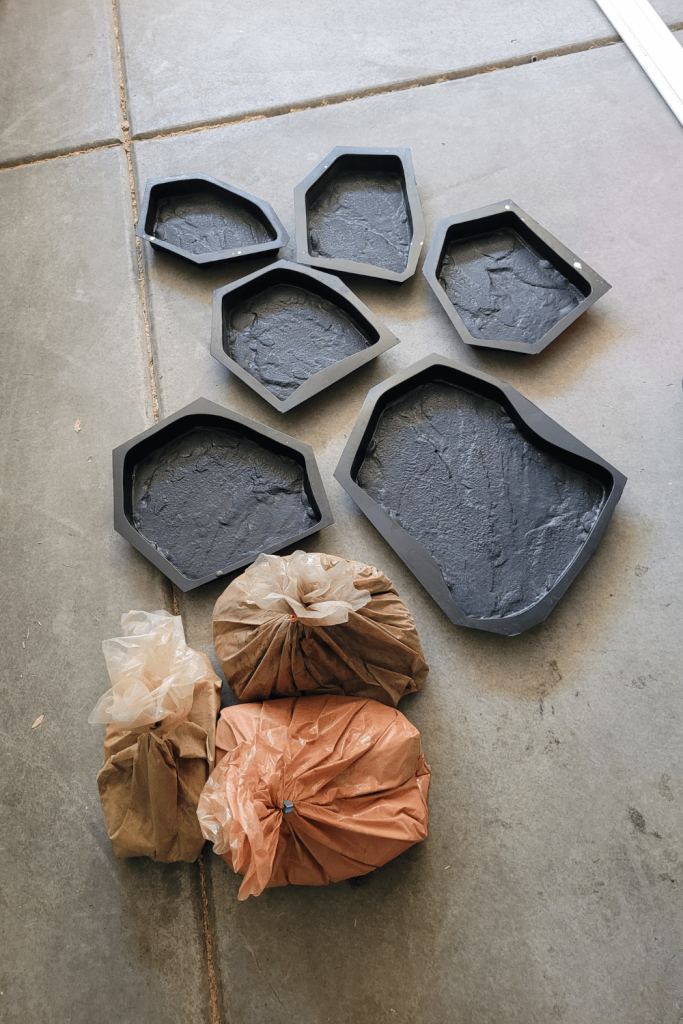
- Concrete molds
- Concrete pigment
- 60lb bag of concrete mix
- vegetable oil (to grease the molds)
- 5 Gallon Bucket (for mixing the concrete)
- Concrete mixing drill
- Tarp (for keeping things neat)
As an Amazon Associate, I may be compensated from qualifying sales. Thanks for your support!
Step 1: Grease the Concrete Molds
First things first, I made sure to grease the concrete molds with vegetable oil. I used a paper towel to lightly coat the inside of each mold. This step ensures that the concrete releases easily once it’s set, making the whole process smoother and preventing any breakage. It’s also a simple way to keep everything neat!
Step 2: Mix the Concrete And Pigment
Next, I mixed the concrete. I used a 60lb bag of concrete mix, which was the perfect amount for filling the molds. I poured the dry concrete mix into a bucket and followed the instructions on the bag to add the right amount of water. Once it was ready, I used a concrete mixing drill to get it mixed. Add the pigment to the wet concrete before filling the molds. The concrete should be thick but pourable—this consistency is key to making durable, smooth diy concrete patio pavers.
Step 3: Fill the Molds
Once the concrete was mixed, I filled the concrete molds with the mixture. When filling, I made sure to tap the sides of the mold lightly to release any air bubbles and help the concrete settle evenly. This results in a smoother, more polished finish. You can also place the molds on a vibrating table if you want to ensure the best results.
Step 4: Let the Concrete Harden
Once the molds were filled, I let the concrete sit and harden overnight. Your climate will effect the curing time. It’s important to resist the temptation to check too soon, as the concrete needs time to set. The next morning, I removed the stepping stones from the molds. Since I had greased the molds beforehand, they popped out easily, and the pavers had a nice smooth finish. I then wiped the molds down with a rag before reusing them.
Step 5: Refill the Molds
Once I had removed the first set of diy concrete patio pavers, I simply greased the molds again, mixed another batch of concrete, and repeated the process. Each time, I was able to make six stepping stones for my yard, and the whole process went fairly quickly.
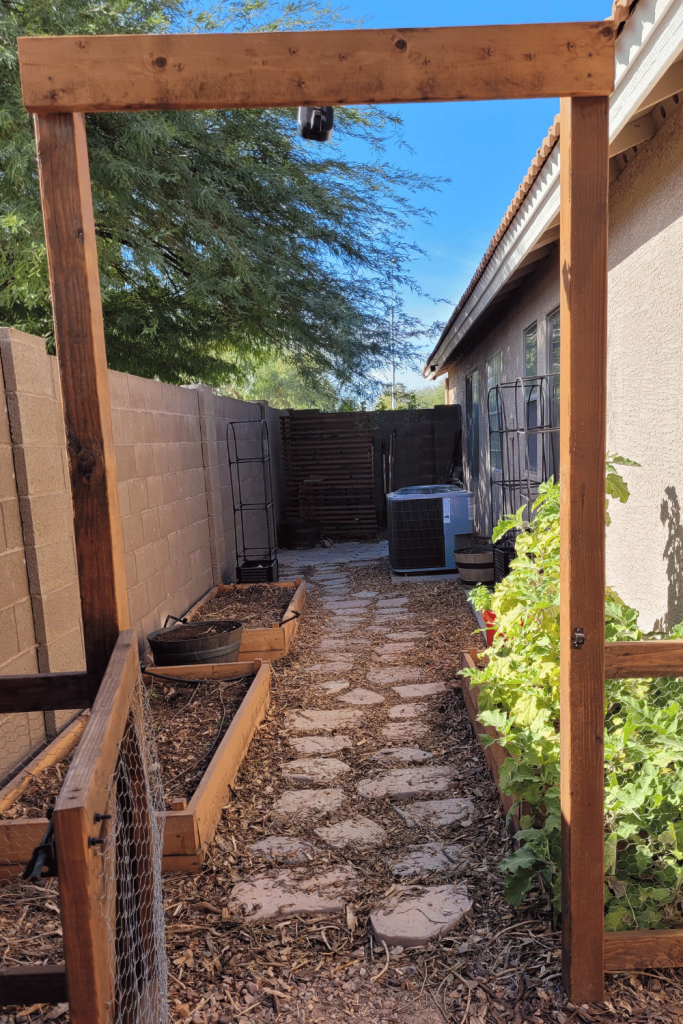
Why DIY Concrete Patio Pavers are a Great Option for Your Yard
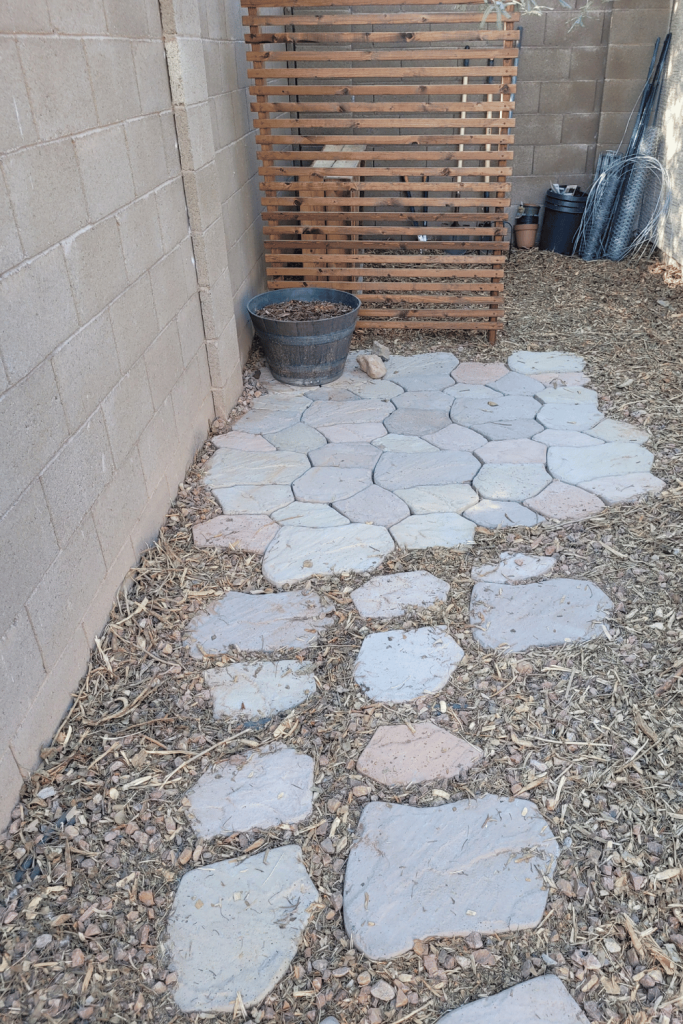
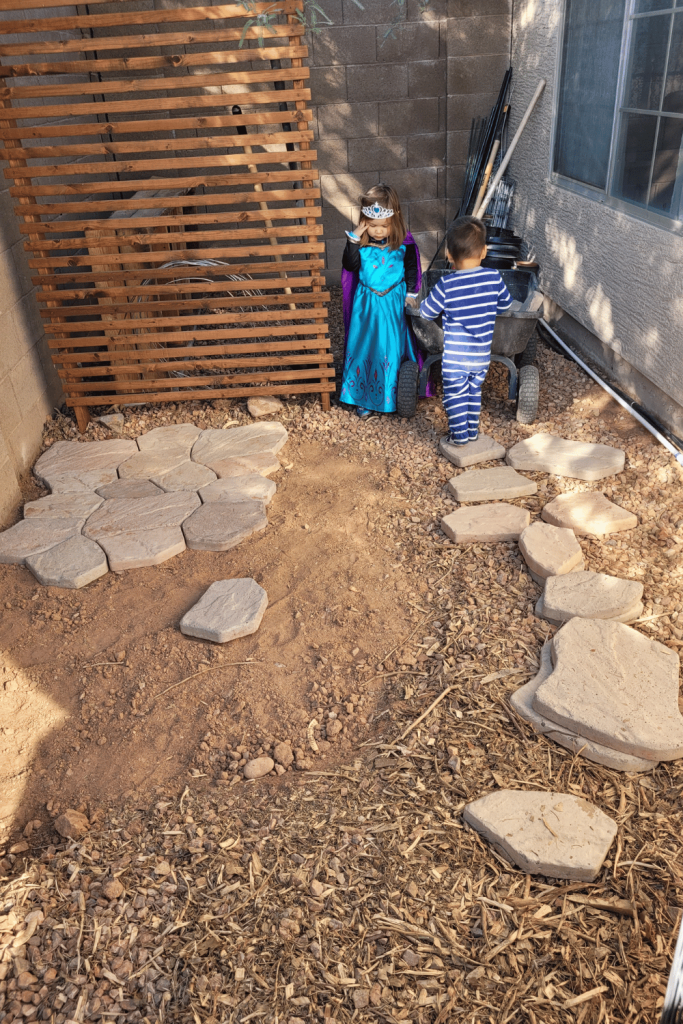
Making your own diy concrete patio pavers is such a rewarding project. Not only is it cost-effective, but it also gives you full creative control over the design. You can choose the exact size, color, and shape of your pavers, and you can create stepping stones that perfectly suit your yard. Plus, the concrete is strong and durable, so these pavers will last for years to come.
Tips for Success
- Lay down a tarp: It’s an easy way to keep things tidy. Filling the concrete molds for these stepping stones can get messy, so laying down a tarp in your workspace is a game-changer for cleanup.
- Pick complementing pigments: Personalize the diy concrete patio pavers to match your yard’s style by picking colors already found in your space.
Final Thoughts on DIY Concrete Patio Pavers
Making diy concrete patio pavers using concrete molds was such a fun and rewarding project. Not only did I save a ton of money, but I also got to create the perfect stepping stones to enhance my yard. Whether you’re looking to create a garden path, add some decorative pavers, or just want to tackle a simple DIY project, this is an affordable and effective way to do it.
I hope my experience helps inspire you to make your own diy concrete patio pavers! Happy paving!

Leave a Reply