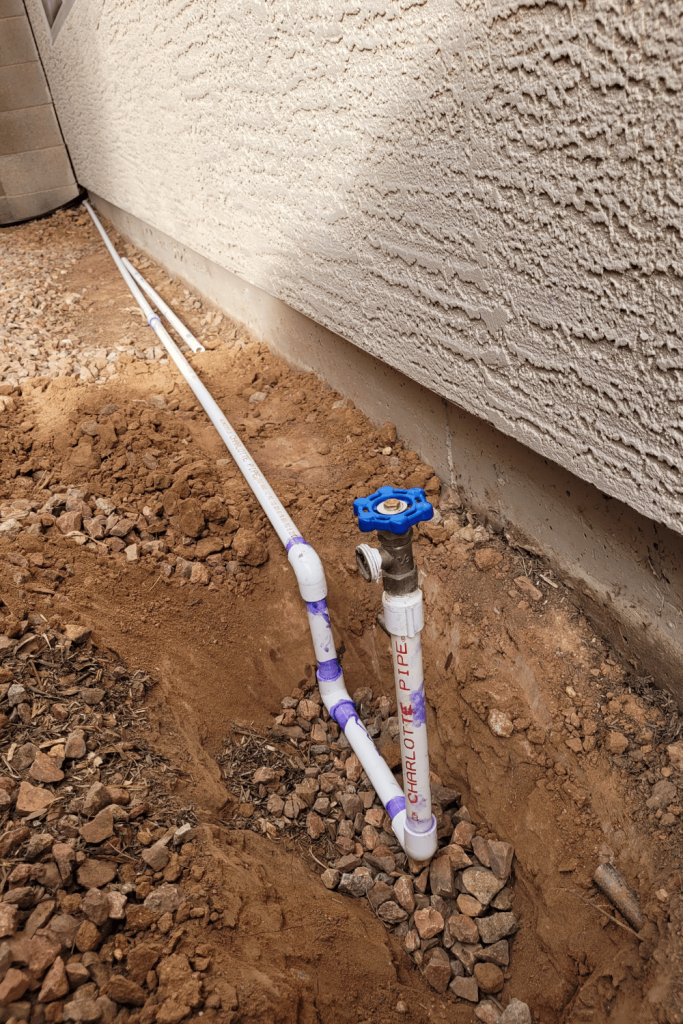
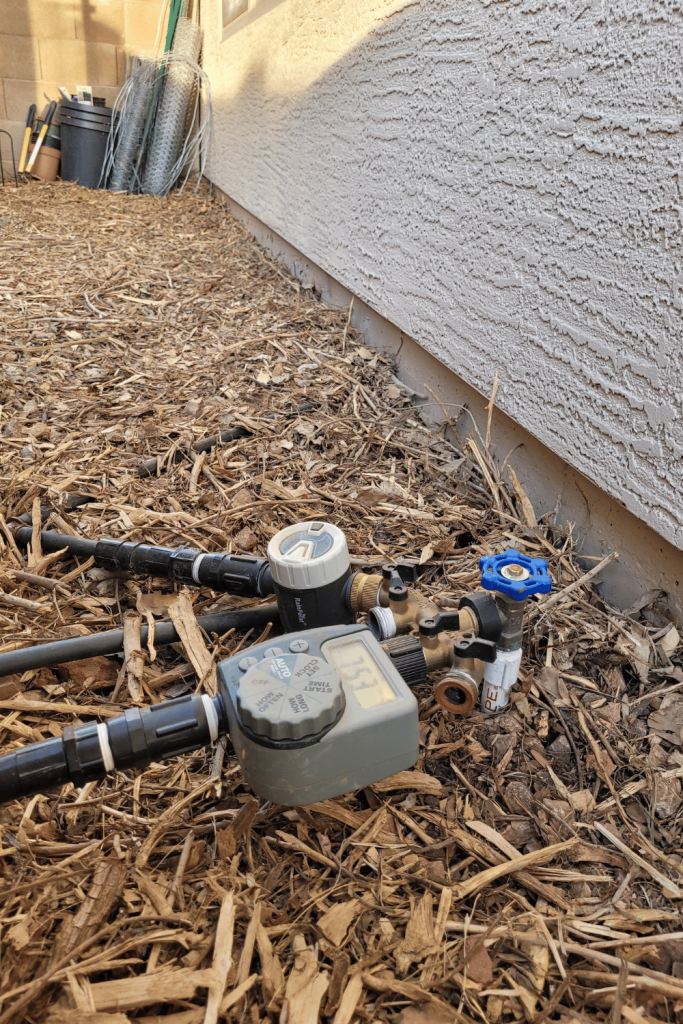
As a stay-at-home mom of two, I’m always looking for ways to make life easier. Our garden is on the side of my house with no outdoor faucet. So, I decided to learn how to extend an outdoor water faucet using Schedule 40 1/2 inch PVC pipes. With no plumbing experience, I extended the faucet from our front yard into our backyard. It is easy to install, and is able to stand up to our Phoenix weather. Plus, it’s budget-friendly and can be removed if needed!

Why Extend an Outdoor Water Spigot?
Adding a new faucet closer to my garden has been a total game-changer! This simple DIY saved me time, effort, and money compared to hiring a plumber. Using Schedule 40 1/2 inch PVC piping makes it durable enough to last through regular use, yet it’s budget-friendly and easy to adjust or remove if you ever need to move your setup.
Materials You’ll Need to Extend Outdoor Water Faucet
You can find all of these items at your local Home Depot. I will provide Amazon links where I can, incase you prefer the convenience of having them shipped to your door. As an amazon associate, I may receive compensation from any qualifying sales.
Here’s what I used to complete the project:
- Schedule 40 1/2 inch PVC pipe (length depends on your layout)
- 1/2 inch PVC elbows (for turns)
- 1/2 inch PVC T-connectors (optional, for branching lines)
- 1/2 inch PVC couplers (to extend piping)
- 1/2 inch PVC male adapter (to connect PVC to the new faucet)
- 1/2 inch PVC female adapter (to connect PVC to the existing faucet)
- 1/2 inch PVC 45 degree angle connecter (to accommodate the angle from existing faucet)
- 1/2 inch hose bib valve (for the new faucet)
- PVC primer and cement
- Pipe insulation (optional, for freezing climates)
- Plumbing tape
- Pipe cutter
- Shovel (to trench and stabilize the spigot area)
How to Extend Outdoor Water Faucet with PVC Pipes

Step 1: Plan Your Layout and Trench as Necessary
Start by measuring the distance from your existing outdoor faucet to the new spigot location. Mark the path where the PVC pipes will run, and count how many elbows you’ll need for every turn, couplers to extend the length, and T-connectors if you’re branching lines to multiple faucets.
If you live in a freezing climate, plan to trench the entire length of the pipe and insulate it to prevent freezing. In Phoenix, I only trenched the final section where the new spigot would be installed to stabilize it.
Step 2: Connect to the Existing Faucet
Attach the 1/2 inch PVC female adapter to your existing faucet. Wrap plumbing tape clockwise around the male threading of the faucet to ensure a leak-proof seal, then screw on the adapter.
Step 3: Dry Fit Your PVC Pipes
Before gluing anything, dry fit all the PVC pieces together along your planned layout. This step ensures the fittings align properly and helps avoid costly mistakes. If you glue a piece incorrectly, you’ll need to cut the pipe and use a new coupler to fix it.
Once everything is aligned, disassemble the pipes and move on to gluing.
Step 4: Glue the PVC Pipes
Following the instructions on your PVC primer and cement, apply primer to the pipe ends and the inside of the fittings. Immediately apply PVC cement and press the pieces together firmly. Work one section at a time to avoid drying out the cement.
Step 5: Install the New Faucet
At the end of the line, attach the 1/2 inch PVC male adapter to connect the pipe to the new faucet. Secure the 1/2 inch hose bib valve to this adapter, ensuring it’s tightly threaded with plumbing tape. Stabilize the new faucet by burying this section in a shallow trench.
Step 6: Test the System
Before testing, make sure the PVC cement has fully cured according to the manufacturer’s instructions. This is critical for avoiding leaks or weakened joints. Once cured, turn on the water at the original faucet and check for leaks at every connection point. If you find leaks, reapply plumbing tape or tighten the fittings as needed.

How to Extend Outdoor Water Faucet: Tips for Success
- Dry Fitting Is Key: Always dry fit your pieces before gluing to avoid mistakes.
- Use Plumbing Tape Properly: Wrap the tape clockwise around the male threads for a leak-proof seal.
- Follow Primer Instructions: The primer is essential for a strong bond—don’t skip it!
- Plan Your Materials: Double-check your count of elbows, couplers, and T-connectors before starting.
Why Use Schedule 40 1/2 Inch PVC Pipes?
Schedule 40 1/2 inch PVC pipes are lightweight, affordable, and durable, making them perfect for extending outdoor water spigots. They’re easy to work with, even for beginners, and provide a long-lasting solution for your garden or yard.
Final Thoughts
Learning how to extend outdoor water faucet with Schedule 40 1/2 inch PVC pipes was easier than I expected and has made my gardening routine so much smoother. If you’re searching for a way to extend your outdoor water spigot, this DIY project is an affordable, beginner-friendly option you can easily customize to your space.
Let me know if you give it a try—I’d love to hear how it works for you!
You may also like:
DIY Concrete Patio Pavers: How I Made My Own Stepping Stones Using Concrete Molds
How to Build a Fireplace the Easy Way: Manufactured Fireplace!

Leave a Reply